![[{[item.product.name]}]]([{[item.product.photo.url]}] 75w)
Shopping cart is empty
For free delivery are missing
-,--
Free delivery!
Sum NET
0,00 €
Sum Gross
0,00 €
Price includes discounts
New


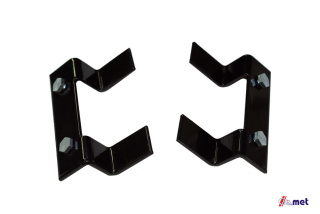
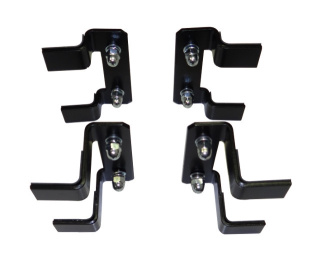
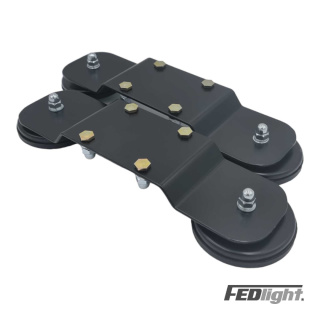
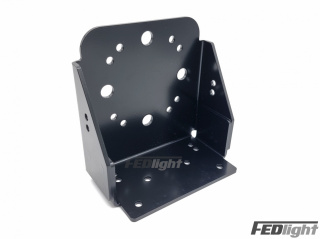
Bracket U1
The Symbol :
Emertronic-U1
69.00
69.00
Contact: biuro@fedlight.pl
Shipping within :
3 days
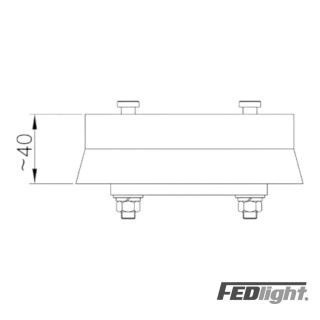
U1 bracket for a combination lamp. The height of the bracket is 20mm.
What does that mean?
From the roof surface to the beginning of the combination lamp flat bar we will get a height of 20mm.
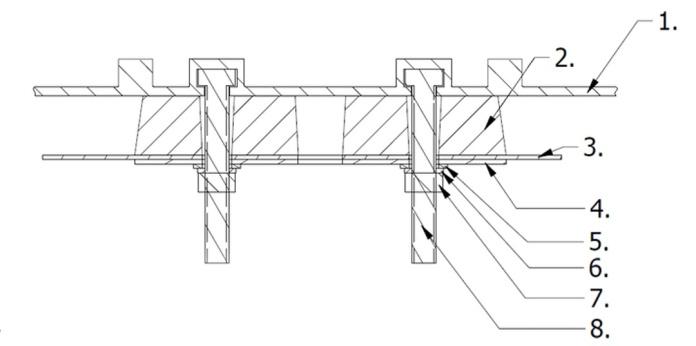 |
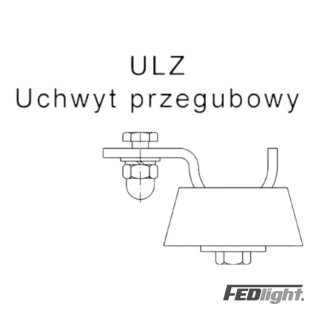
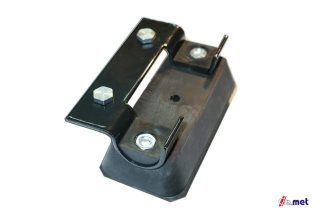
1. Aluminum base of the REMEDY combination lamp
|
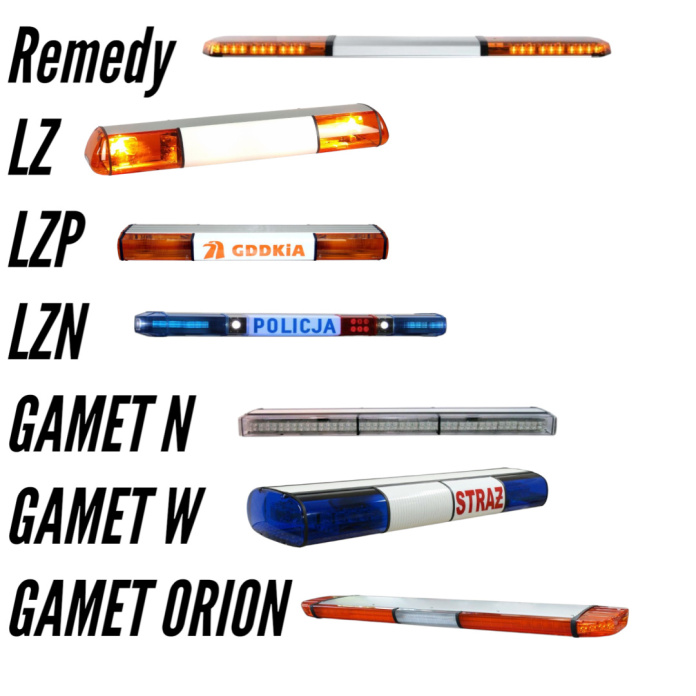
Kompatybilny z lampami zespolonymi:
EMERTRONIC: Remedy
ELEKTRA: LZ, LZP, LZN (wymaga krótszych główek śrób)
PW GAMET: W, N oraz ORION
ELFIR: EP

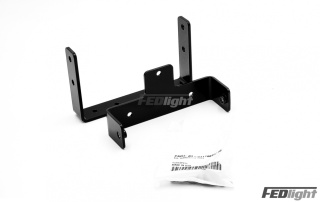
Installing a combination lamp using the U1 bracket. Remember, if you do not have advanced knowledge of this type of installation,
leave it to authorized vehicle services or our company. Before starting work, dismantle the headliner in the vehicle being fitted.
This is necessary. Start mounting the combination lamp using the U1 bracket by correctly arranging the brackets on the vehicle roof.
You must position the combination lamp so that the vertical axis of the lamp is perpendicular to the road surface on a flat surface.
The location of the brackets should be at the height of the internal roof reinforcements. This will ensure the best durability and rigidity of the installed lamp.
Drill 2 holes on the left and 2 holes on the right side of the roof for the U1 bracket.
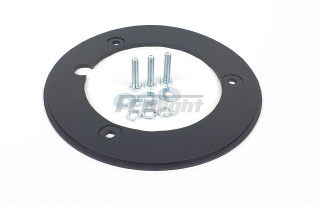
Screw the combination lamp using M8 screws and then, according to the instructions, apply rubber washers, metal flat washers, locking
washers and the screw one after another. Remember to properly secure the drilled holes. Anti-corrosion protection and sealing with
appropriate silicones are very important. After proper installation, the assembly kit should be inspected periodically according to
the manufacturer's instructions.
115.62
115.62
98.00
98.00

92.00
92.00

92.00
92.00
976.00
976.00
171.00
171.00
104.00
104.00
88.00
88.00
587.94
587.94
218.94
218.94
108.98
108.98
36.61
36.61